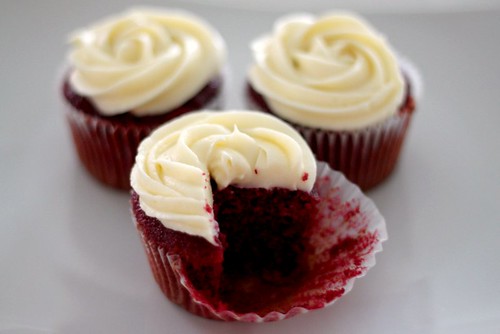
I've never eaten a red velvet cupcake before. I guess the whole, is it a vanilla or chocolate cake or just something in between steered me away from even attempting this cake. If it wasn't for my brother who begged me to make these cupcakes for his friend, I don't think I would ever make these. I chose a butter based instead of oil recipe for maximum flavour because I just couldn't see how a cake made with one tbsp of cocoa would have any taste. Red velvet isn't supposed to be a chocolate tasting cake, but the thought of a something tasting like it had a 'hint' of chocolate flavour didn't seem appealing to me. Plus with the tanginess from the buttermilk and vinegar, I was really worried these would have some weird flavour and that the only thing drawing me into eating these was the pretty red colour and cream cheese frosting!
As it turns out, these weren't so bad. They were even moist the next day even after storing them in the fridge, which was great because most butter based cakes dry out. I used the recipe from the Joy of Baking, increasing the butter by 2 tablespoons.
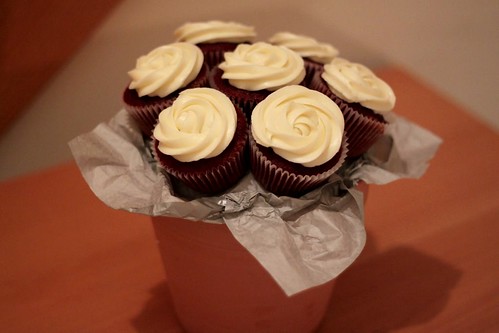
Red Velvet Cupcakes:
1 1/4 cups (125 grams) sifted cake flour
1/4 teaspoon salt
1 tablespoons (10 grams) regular or Dutch-processed cocoa powder
1/4 cup (57 grams) unsalted butter, at room temperature (I used 6 tablespoons)
3/4 cups (150 grams) granulated white sugar
1 large egg
1/2 teaspoon pure vanilla extract
1/2 cup (120 ml) buttermilk
1 tablespoon liquid red food coloring
1/2 teaspoon white distilled vinegar
1/2 teaspoon baking soda
Preheat oven to 350 degrees F (175 degrees C) and line 12 muffin tins with paper cupcake liners.
In a large bowl sift together the flour, salt, and cocoa powder.
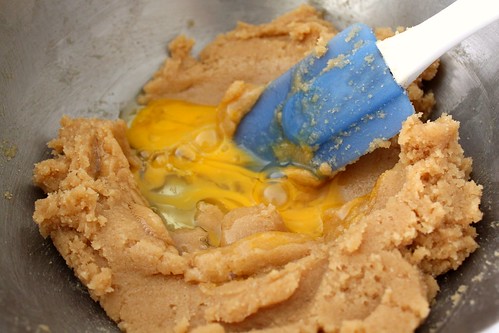
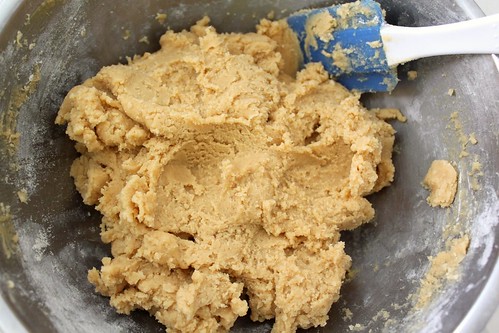
In the bowl of your electric mixer, or with a hand mixer, beat the butter until soft (about 1-2 minutes). Add the sugar and beat until light and fluffy (about 2-3 minutes). Add the egg and beat until incorporated. Scrape down the sides of the bowl. Add the vanilla extract and beat until combined.
In a measuring cup whisk the buttermilk with the red food coloring. With the mixer on low speed, alternately add the flour mixture and buttermilk to the butter mixture, in three additions, beginning and ending with the flour.
In a small cup combine the vinegar and baking soda. Allow the mixture to fizz and then quickly fold into the cake batter.
Working quickly, divide the batter evenly among the 12 muffin cups and smooth the tops with an offset spatula or the back of a spoon. Bake in the preheated oven for approximately 18 - 23 minutes, or until a toothpick inserted in the center of the cupcakes comes out clean.
Cool the cakes in their pans on a wire rack for 10 minutes and them remove from pan. Let cool completely before frosting. Either spread the frosting with a knife or offset spatula, or use a large 1M Wilton open star decorating tip to pipe the frosting.
Read more: http://www.joyofbaking.com/RedVelvetCupcakes.html#ixzz1LhfpGcJ0
Cream Cheese Frosting
6 tablespoons of butter at room temperature
8 oz cream cheese at room temperature
1.5-2 cups of icing sugar, sifted depending on how sweet you like your frosting
Cream butter at medium speed until smooth
Add cream cheese and continue beating at medium low speed until there are no lumps
Sift icing sugar and continue beating at medium low until incorporated
Do not overbeat or else frosting will be too soft to pipe
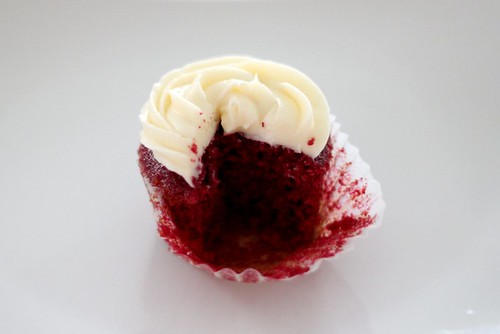
I could only take this picture at night when the lighting is all screwed up, but this is what the red velvet cupcakes were really made for.