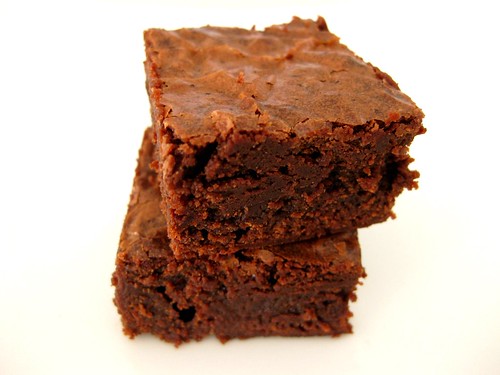
 I didn't get a chance to complete this week's TWD, but if it makes it sort of better, I made brownies (just not the recipe I was supposed to). I know I said I wasn't a huge fan of regular brownies because I find that they're excessively rich, but I didn't want to give up on full fat brownies just yet, especially since they always look irresistable. I decided to give CI's chewy, fudgy brownies a try because they sounded like they would have the perfect balance between chewy and fudgy. To be honest, I was a little disappointed considering how much richer these were compared to the low fat fudgy brownies. I would have thought that more fat = tastier, but these didn't really do it for me. They were a little too light and not 'brownie dense' or fudgy enough. The texture and flavour improved by day 2. These weren't horrible, but I guess they're just not for me. If I'm going to eat something with so much fat packed into a tiny square, they better be special or exceptional!
Chewy, Fudgy Triple Chocolate Brownies
Cook's Illustrated
Either Dutch-processed or natural cocoa works well in this recipe. These brownies are very rich, so we prefer to cut them into small squares for serving.
Makes Sixty-four 1-inch Brownies
5 ounces semisweet chocolate or bittersweet chocolate, chopped
2 ounces unsweetened chocolate , chopped
8 tablespoons unsalted butter (1 stick), cut into quarters
3 tablespoons cocoa powder
3 large eggs
1 1/4 cups granulated sugar
2 teaspoons vanilla extract
1/2 teaspoon table salt
1 cup unbleached all-purpose flour
1. Adjust oven rack to lower-middle position and heat oven to 350 degrees. Spray 8-inch square baking pan with nonstick vegetable cooking spray. Fold two 12-inch pieces of foil lengthwise so that they measure 7 inches wide. Fit one sheet in bottom of greased pan, pushing it into corners and up sides of pan; overhang will help in removal of baked brownies. Following illustration 1 below, fit second sheet in pan in same manner, perpendicular to first sheet. Spray foil with nonstick cooking spray.
2. In medium heatproof bowl set over a pan of almost-simmering water, melt chocolates and butter, stirring occasionally until mixture is smooth. Whisk in cocoa until smooth. Set aside to cool slightly.
3. Whisk together eggs, sugar, vanilla, and salt in medium bowl until combined, about 15 seconds. Whisk warm chocolate mixture into egg mixture; then stir in flour with wooden spoon until just combined. Pour mixture into prepared pan, spread into corners, and level surface with rubber spatula; bake until slightly puffed and toothpick inserted in center comes out with a small amount of sticky crumbs clinging to it, 35 to 40 minutes. Cool on wire rack to room temperature, about 2 hours, then remove brownies from pan using foil handles (see illustration 2, below). Cut into 1-inch squares and serve. (Do not cut brownies until ready to serve; brownies can be wrapped in plastic and refrigerated up to 5 days.)
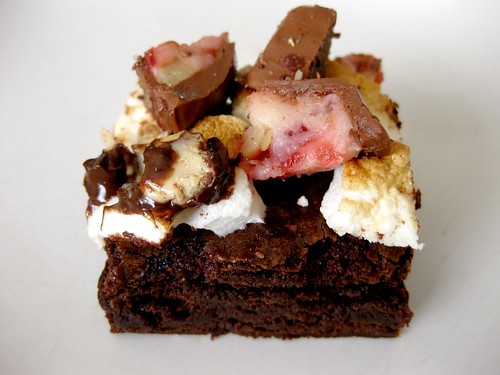
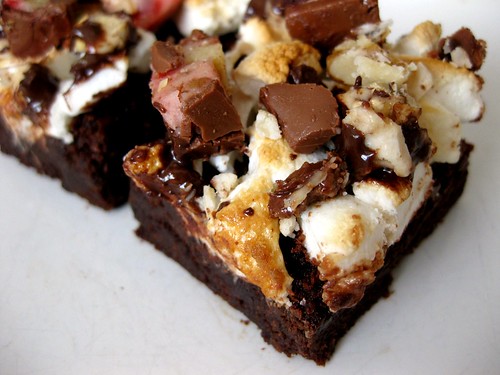 A while ago, Sees Candies kindly sent me 1lb of assorted chocolates. I absolutely loved their toffee crisps. They were so addicting! Initially I was going to bake cupcakes with a chocolate surprise in the centre. On second thought, I realized there would probably be sinkage and gooeyness from raw batter so that was out of the question. Soggy cake really grosses me out so I went with something where I wouldn't have to bake the chocolate. Ingrid inspired me to dress up my 'plain' low fat fudgy brownies so I topped them off with marshmallows and broiled it until it got toasty. Then I added chopped up See's chocolates. Some people are opposed to add ins when it comes to brownies and I'm usually one of them, but this was a fun twist. I really liked the combination of the chocolate chunks, marshmallows and fudgy base because of all the different textures. Plus, when it comes to assorted chocolates, I'm always curious about what they all taste like and have the urge to take a bite out of each of them. By chopping them up into smaller pieces, I can try more flavours at once!
 Low Fat Fudgy Brownies
Adapted from Cooks Illustrated
3/4 cup (3.75 oz) all-purpose flour
1/3 cup Dutch-processed cocoa powder
1/2 t baking powder
1/4 t salt
2 oz bittersweet chocolate, chopped
2 T unsalted butter
2 T low-fat sour cream
1 T chocolate syrup
2 t vanilla
1 egg
1 egg white (I omitted)
1 cup sugar
1/2 tsp instant coffee granules (I added)
enough marshmallows to scatter the top
chopped up chocolates
Adjust oven rack to middle position and preheat to 350.
Fold 2, 12-inch pieces foil lengthwise so each measures 7 inches wide. Fit sheets into 8-inch square pan, pushing foil into corners and up sides of pan (to help remove brownies--optional).
Spray foil or pan with cooking spray.
Whisk dry ingredients together.
Melt bittersweet chocolate and butter in large bowl over a double boiler until smooth.
(This is the part I changed: Add sugar and mix until slightly melted. It will look grainy because there is so little liquid. Add sour cream, syrup, vanilla and whisk, add egg and whisk, fold in dry ingredients until combined)
(The original directions tell you to: whisk in sour cream, syrup, vanilla, eggs, and sugar. Fold in dry ingredients until combined.)
Bake until slightly puffed and toothpick inserted in center comes out with a few sticky crumbs attached, 20-25 min.
Scatter marshmallows on top of brownie base and broil until they get toasty/melty. This happens quickly so keep an eye on the oven.
Remove from oven and scatter chopped up chocolates on top. You can press some of them down into the melted marshmallows so they don't fall off when being cut.
Cool completely in pan on wire rack.
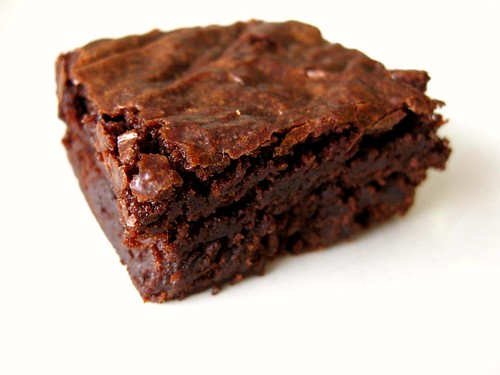 A lower fat fudgy brownie that actually tastes good exists!! This was just too exciting because I don't usually like regular brownies. They're just too rich for me, but most low fat brownies come off tasting like cardboard and have a weird texture. Finding the right recipe was going to be difficult, but once again, Cook's Illustrated came to the rescue. They managed to lower the fat just enough without skimping on flavour. I adapted their low fat fudgy brownies by removing the extra egg white, adding instant coffee and following King Arthur's directions to get that crust I love so much. I like it better without the extra egg white because I think lightens the texture up too much. You won't get quite the density, heaviness (or greasiness) of a full fat brownie...obviously since these contain a fraction of the amount of fat, but you won't feel cheated on flavour and texture either. The best part was the surprise reaction I got from my friends and family after I told them the brownie was low fat.
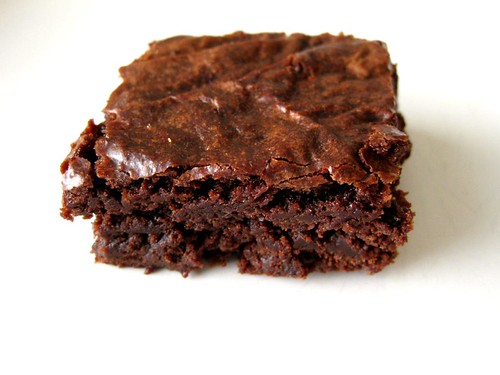
I had to be careful not to overbake these because they are lower in fat. It's just as important not to underbake them either or the texture might end up being gummy and you'll feel like you're eating goo. These are ready when the center looks slightly puffed and a toothpick inserted into the center has sticky crumbs attached. If the toothpick comes out clean, then they'll be overdone and dry. You also have to make sure you don't overmeasure the flour or else they will be dry and lose its fudginess. I will definitely be making these again!
Low Fat Fudgy Brownies
Adapted from Cooks Illustrated
3/4 cup (3.75 oz) all-purpose flour
1/3 cup Dutch-processed cocoa powder
1/2 t baking powder
1/4 t salt
2 oz bittersweet chocolate, chopped
2 T unsalted butter
2 T low-fat sour cream
1 T chocolate syrup
2 t vanilla
1 egg
1 egg white (I omitted)
1 cup sugar
1/2 tsp instant coffee granules (I added)
Adjust oven rack to middle position and preheat to 350.
Fold 2, 12-inch pieces foil lengthwise so each measures 7 inches wide. Fit sheets into 8-inch square pan, pushing foil into corners and up sides of pan (to help remove brownies--optional).
Spray foil or pan with cooking spray.
Whisk dry ingredients together.
Melt bittersweet chocolate and butter in large bowl over a double boiler until smooth.
(This is the part I changed: Add sugar and mix until slightly melted. It will look grainy because there is so little liquid. Add sour cream, syrup, vanilla and whisk, add egg and whisk, fold in dry ingredients until combined)
(The original directions tell you to: whisk in sour cream, syrup, vanilla, eggs, and sugar. Fold in dry ingredients until combined.)
Bake until slightly puffed and toothpick inserted in center comes out with a few sticky crumbs attached, 20-25 min.
Cool completely on wire rack.
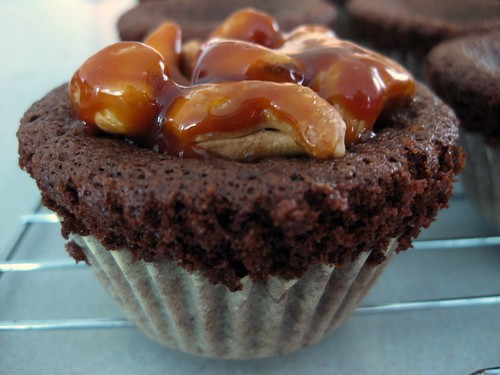 I've decided to make the most of my Monday and Wednesday mornings before classes and spend it baking. Not only do I get to start the day with something yummy, but also with something I love doing! Instead of waiting until the last minute like last week, I started on the caramel topped peanut cake on Wednesday morning so I could bring it to school. This was really exciting because I'm always talking about my baking, but never actually shared (other than to family or neighbours) because I am afraid it's not good enough and would like to be spared the embarassment. After several rounds of TWD, I would have to say that my confidence has definitely improved.
I didn't have peanuts, so I stirred in cashews into my first non-soupy caramal sauce. I made a cupcake style version of the full recipe (that's right, I actually made the full recipe) and was anticipating with great excitment as I watched the cake rise in the oven (yes, I actually do that). Something about seeing the batter transform from a liquidy smooth batter into an actual cake makes me feel good. Anyway, despite my high hopes, something must have gone terribly wrong because these did not taste right. First, the texture was weird (springy and chewier than my ususal chocolate cakes) and the flavour was off. It had the slightest soapy aftertaste and no chocolate flavour. Could it be that I've been so used to halving my recipes that I halved the chocolate without knowing? I have no idea what went wrong, but with the clock ticking and batter still left in the bowl, I had to either bake and pray (secretly hoping that somehow only the batter on the top was messed up) or dump it out.
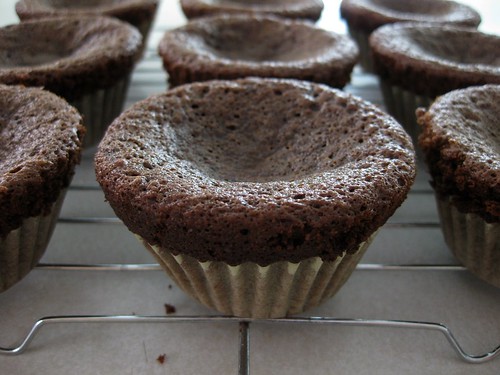
So what do you do when you're left with a chocolate batter that tastes like a regular cake with a hint of chocolate flavour? You add cocoa powder. There was no way I could incorporate cocoa without over mixing so I decided to turn the brownie cake into a cookie. Cookies seem to be a little more forgiving to overmixing. Plus, if anyone askes, these are supposed to be chewy cookies! Suprisingly, the cookie version turned out a lot better, but instead of leaving it there, I decided to turn them into whoppie pies! By the time I was all finished, it was running late so I had to leave without taking pictures of my completed cookie sandwiches. I got home and was left with nothing, not even a half whoppie pie to snap at! Overall, a not so good TWD turned out to be a lot of fun especially with the tranformation of the original brownie cake turned cookie turned whoppie pie.
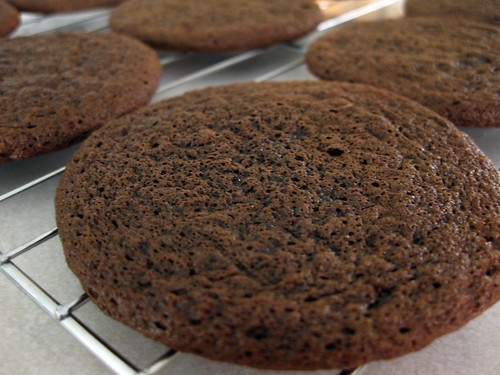
So these didn't exactly have the height of a normal whoppie pie with the extreme flattness of them.
Thanks to Tammy of Wee treats by Tammy for choosing this recipe, which can be found on her blog and in Dorie Greenspan's Baking: From my Home to Yours. Don't forget to checkout the TWD Blogroll!

