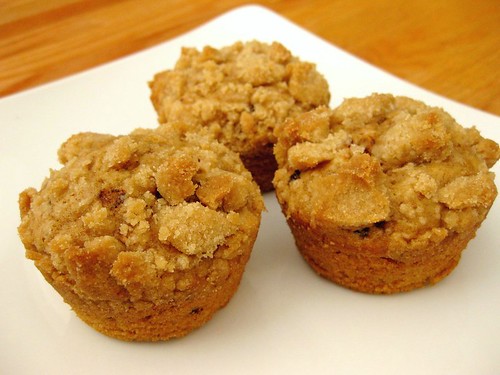
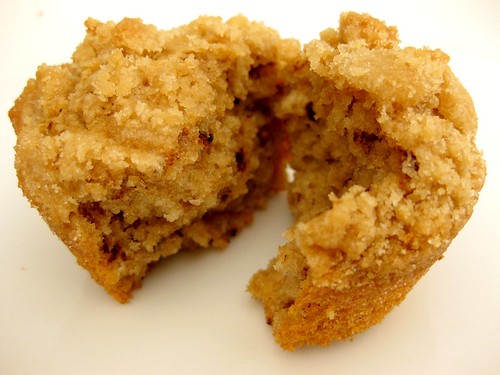
 It's been, oh, I don't know... 6 months since my last TWD post! I'm shocked if I'm still on the blogroll for being such a lazy member. Anyway, I thought I'd make my return with blondies.
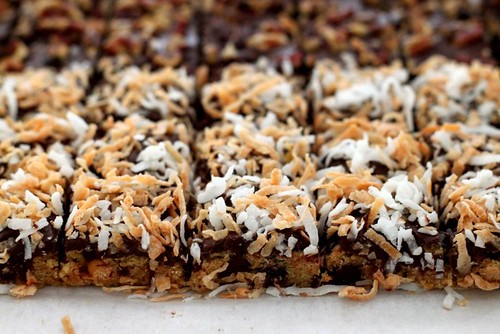
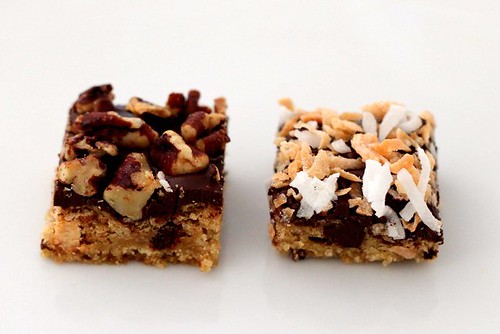
I used to be a coconut hater, but ever since I made the samoas bars, I've been finding excuses to bake with coconut. Instead of adding the coconut into the batter, I toasted it and sprinkled it on top for a nice textural contrast. I don't like putting coconut into the dough because it makes them gritty. For the coconut haters, I sprinkled the nuts on the other half. I also don't like putting nuts in the dough because I find that they get soggy. I omitted the white sugar completely to cut down on the sweetness. These were good, but I wasn't crazy about them. I would rather have a chocolate chip cookie so I can enjoy the crispy edges rather than a uniformly soft and chewy square. I may try these again with white rather than butterscotch chips.
Thanks to Nicole of Cookies on Friday for choosing this week's recipe
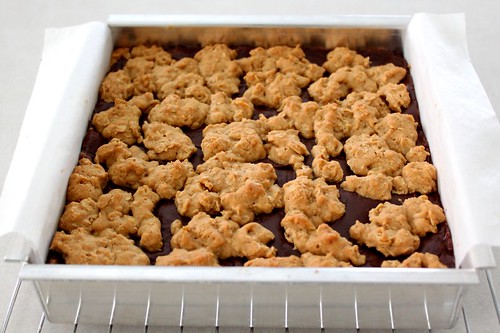 What's not to love about oatmeal cookies sandwiched with a fudgey chocolate centre?! My expectations for these bars were pretty high, especially since they were very rich so it was a little bit of a disappointment when they weren't amazing. They were still good, but if I'm eating something this fattening, it better be crazy delicious.
I meant to blog about this for TWD when it was chosen by Lillian of Confectiona's Realm back in January!
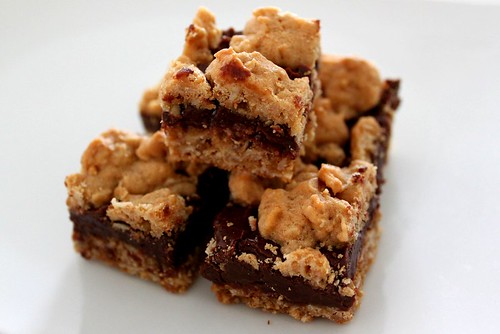
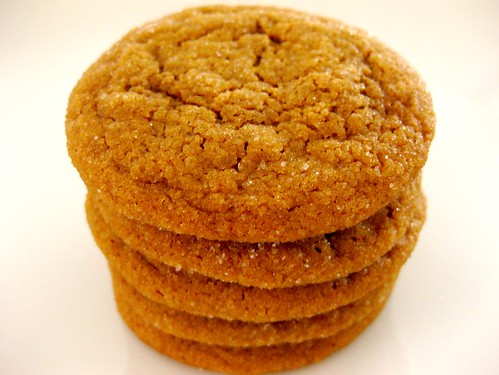 Pamela, thank you so, so much for choosing these!! I would have never tried them on my own seeing as they contain my favourite (not) spices, allspice and cloves. If cinnamon is sometimes too overpowering for me, then there's no question that the other two are way too strong. I was brave this time and didn't reduce the spices... I'm so proud of myself...haha. My cookies aren't as dark because I ran out of brown sugar and had to use half granulated sugar, but they were still delicious. I wanted these to be chewy rather than crisp, but may have underbaked these a little too much because the centre was soft with an almost, but not quite raw dough quality to them. Another 30s-1 minute and these would have been perfect. Next time I'm baking these until they're crisp so I won't have to obsess over getting that perfect chewy texture. I'm surprised I had enough dough to form cookies because this has to be one of the yummiest cookie doughs ever (and I don't generally like cookie dough)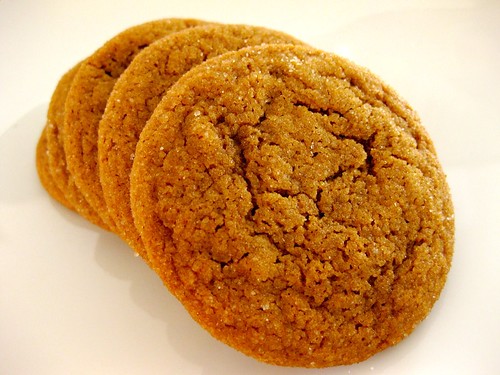
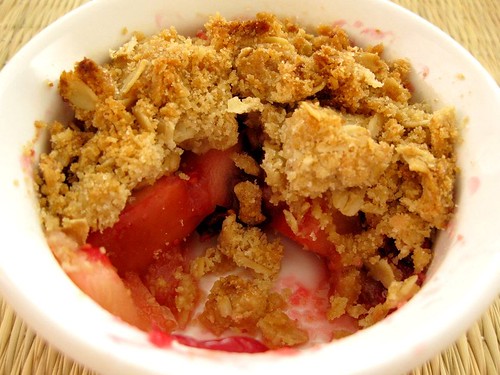
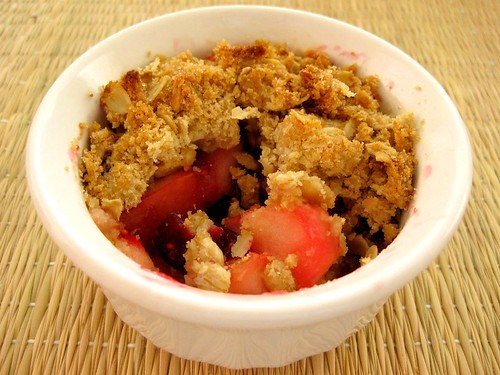 I think it's obvious that I have no self control when it comes to crumbs and dug into this immediately. The apple cranberry crisp was the perfect version of a pie for the non crust lover in me. I absolutely loved the addition of ginger, which I think made this crisp extra special. The spicy ginger, sweet apples and tart cranberries complemented each other really well. Before baking, I cooked the cranberries and apples with the sugar until they released their juices so I wouldn't end up with soup because who likes soggy crumbs?! It also helps to cut down on baking time, which is a plus considering I used the toaster oven and the ramekin is so close to the coil. So far, there haven't been any explosions... I'm keeping my fingers crossed.
Thanks to Em of The Repressed Pastry Chef for choosing this week's recipe
10 more days til New Moon comes out!! Is anyone else excited?!?!
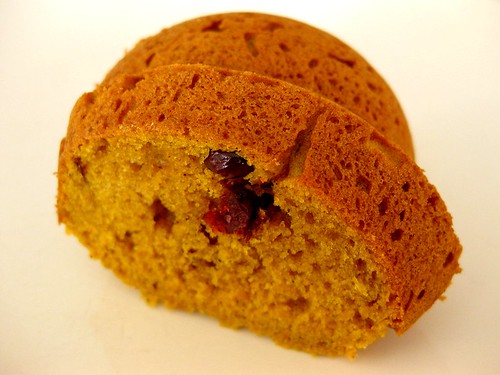 This pumpkin dessert was liked a little more by my family compared to the previous scones or cupcakes/muffins. Thank god because I didn't want to finish the entire bundt myself, even though I halved the recipe (which is why it looks a little funny and short). I really liked the texture of the cake and was glad I omitted the apples. As nice as apples in desserts sound, I find that they add sogginess, which eventually leads to questions like 'eww, why is this cake raw?' and me replying, 'it's not raw, it's apples'. Since there was already so much pumpkin puree in this, I decided that any more moisture would scare my family away. I also used dried instead of fresh cranberries to keep the wetness down. Overall, I really enjoyed this cake, which would have surprised me a year ago when I wasn't exactly open to the idea of pumpkin in desserts... I blame the pumpkin pie!
Thanks to Britin of The Nitty Britty for choosing this recipe!
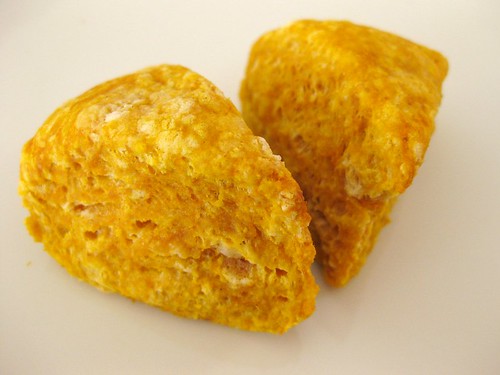 I really liked the creamy texture that the pumpkin added to these biscuits. Even my dad told me he liked these. I thought I was actually making progress with changing my family's mind about pumpkin until he had another one and realized that he was just starving before. O well, pumpkin just isn't for this family. I have to admit that I wasn't crazy about the taste of these either (or my embarrassing flour spots). Maybe it would have been better with the sweet potato, but I had some leftover pumpkin from the pumpkin patch cupcakes that I wanted to finish up.
Thanks to Erin of Prudence Pennywise for choosing this week's recipe! Don't forget to visit the TWD Blogroll. 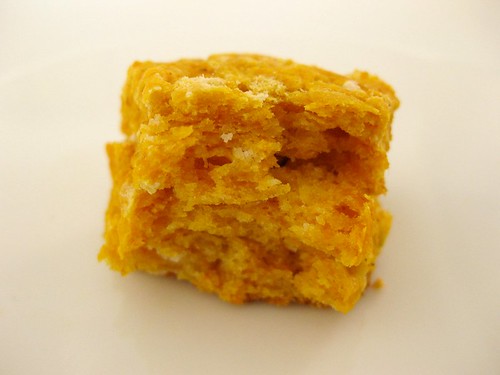
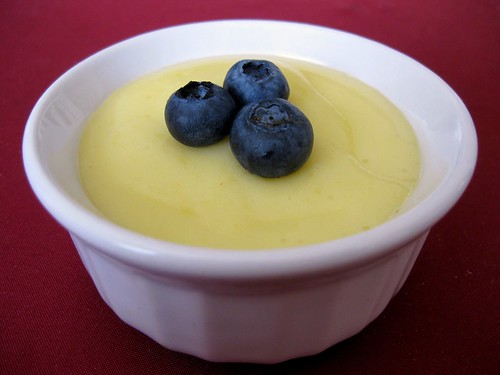 This week's creamiest lime turned lemon cream is definitely one of my favourite TWDs! As usual, I skipped the crust, but I was actually considering making one this time. It wasn't until I tasted the cream when I decided that it wasn't going to be shared with anything. I was enjoying it plain with blueberries (which were originally placed to hide the mark I made with my finger because I was a little anxious to taste it). The food processor is key for such a luscious filling. That and the 2 sticks + 2 tbsps of butter! I reduced it drastically, using only the 2 tbsps. Even though 2 tbsp is very little, it made the filling slightly richer and a little more special so I wouldn't omit it entirely. The best part about this recipe is you can adjust the butter/richness to your taste without screwing it up.
Thanks to Linda of Tender Crumb for choosing this week's recipe! You can find the recipe on her blog or in Dorie's book. Don't forget to check out the TWD blogroll!
 This week's recipe was a simple one bowl recipe.. the kind that always gives me the most stress because I can't just dump ingredients in a bowl. Unlike the creaming recipes where there is always a set sequence of cream the butter with sugar, adding the eggs one at a time... there are just so many ways to mix a one bowler. Should the sugar be whisked with the wet or the dry? Should the egg be whisked with the sugar first? Or could all the wet ingredients be whisked together at the same time? What really produces the best texture? That is why I tend to avoid one bowlers because as much as I would love to try all the different techniques, I'm not really up for trying 5 different versions of the same recipe.
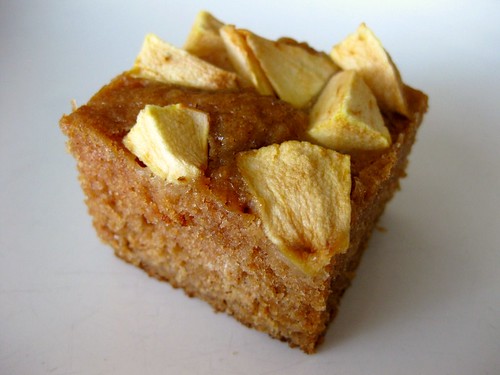
Anyway...I made half the recipe, baked in a loaf pan to get more height and used brown sugar (2/3 cup instead of 1 to cut down on sweetness) instead of white. Since I don't usually like sugar glazes, I added the apples on top for a little decoration and to make it a little easier to photograph (because I can't make brown bars look pretty). These were more cake-like that bar-like and because of the medley of spices, no one would eat more than a piece. I thought it was ok, but needed more apple flavour. I don't know if adding more apple sauce would work though because that might just make things too gummy.
Thanks to Karen of Something Sweet by Karen for choosing this week's recipe! You can find the recipe on her blog or in Dorie's book. Don't forget to check out the TWD blogroll!
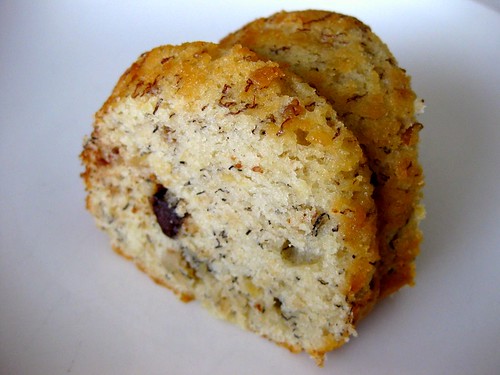 The best part about bundt cakes is you never really have to decorate them because they're so pretty by themselves... that is, unless if they stick because then you have something that's a little tricky to fix. This was the first time I've ever had a cake stick on me. I knew something was wrong when the cake wouldn't budge as I was wiggling the pan around before turning it over. This was actually a pretty scary moment because the thought of having to dig my fingers down the sides and try to pry it out didn't sound too fun. Luckily, with enough shaking and jiggling around, the cake was loose enough so that I could turn it upside down. A few pieces remained stuck on the pan, but at least it came out in one piece!

This was really moist and so tender that it literally melted in my mouth. I had to retoast it because it was a little mushy. The banana flavour was good, but not as strong as I would have liked. I wish I loved this as much as everyone else seemed to on the P&Q, but I think I'm just not a banana cake person even though weirdly enough I love banana bread. I didn't like the banana cake recipes from Sky High or Chris Kimball either because they were also too sweet and a little mushy. I guess I'll just stick with banana bread, especially the Silver Palate recipe with its strong banana flavour and sturdy yet tender crumb. There's also less fat, which is always a plus!
Thanks so much to Mary of Food Librarian for choosing this recipe! You can find the recipe on her blog or in Dorie's book. Don't forget to check out the TWD blogroll!
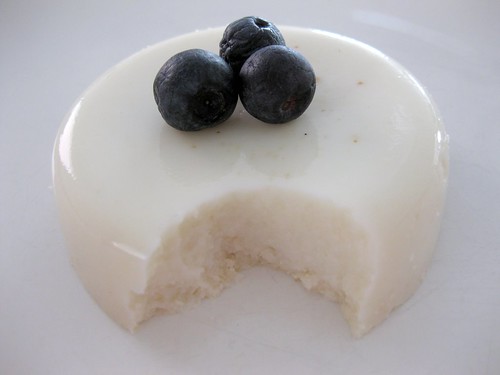 As much as I love cream, I tend to make substitutions or remove heavy cream entirely when I can (pastry creams, curds and sauces). If I'm eating cream, it's going to be in whipped cream frosting or icecream and maybe a tiny sliver of whipping cream pound cake or else I feel kind of guilty. When I decided to substitute the cream for milk, I knew it wouldn't be as decadent or rich and that I've possibly converted it from blanc-manger to milk jello, but I did save a lot of calories from saturated fat! Surprisingly the milk jello wasn't so bad...ok, that's what I wish was true. I really didn't like the crumbliness of the ground almonds, but maybe it would have been different if I used cream. I don't think this even counts as a TWD anymore and I wasn't even going to blog about it, but I was too proud of how it didn't fall apart from unmolding because I forgot to grease.
Thanks so much to Susan of Sticky, Gooey, Creamy, Chewy for choosing this recipe! You can find the recipe on her blog or in Dorie's book. Don't forget to check out the TWD blogroll!
 I was so excited for that this was the brioche plum tart and not just plum tart because brioche is so much yummier than tart crust! I didn't have a fancy fluted pan so I used my 9 inch springform. I substituted the plums with nectarines, used peach jam and omitted the nuts. I tried to keep it as simple as possible by not doing the slap down every 30 minutes of the refrigerated dough because I was worried I would ruin it with my inexperience with yeast. Instead, I let the dough rise at room temperature until doubled, shaped it into the pan and then let it rise a second time. I sort of had this great idea in my head to make a twist border, but as it is most of the time, imagining something doesn't always translate well when executed.
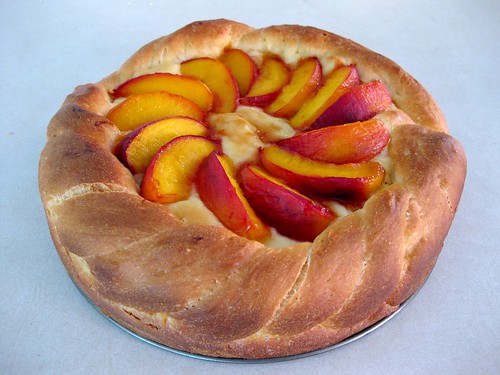
I didn't expect to like this so much because it looked pretty flat going into the oven and I thought I was going to end up with a stone. Thankfully, it puffed up to double its size once it started to bake. Despite my sour nectarines (which was the result of omitting the sugar because I can't stand syrupy fruits) this was really good!
Thanks so much to Denise of Chez Us for choosing this recipe! You can find the recipe on her blog or in Dorie's book. Don't forget to check out the TWD blogroll!
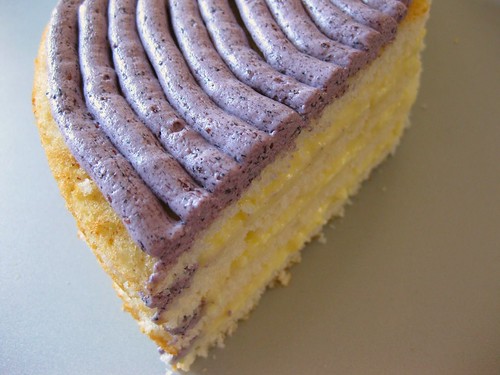 I was so excited for this cake because last summer, this was the recipe I used to bake my first ever layer cake. Thanks to the DBers who raved about this enough that I had to give it a try. It was the first time I realized that cakes could be made from scratch! Since many of the experienced DBers had problems with flat layers, I decided to make a triple layer cake with 3 8 inch pans (I needed all the help I could get).
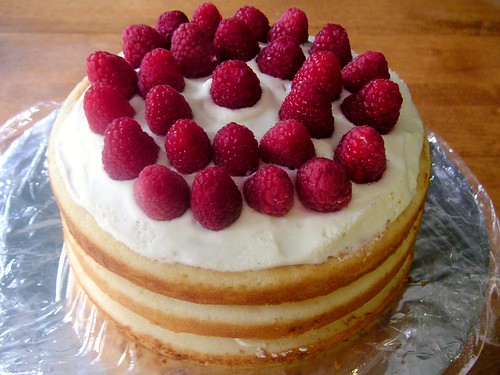
One year later I wanted to try it with 9 inch pans, since Dorie posted helpful tips to fix the height issues and because my 8 inch ones aren't the greatest in quality. I used all purpose flour and 2% milk. I omitted the 2 minute beating at the end because I didn't want to risk overbeating. 2 minutes of beating with all purpose flour... I don't even want to imagine what would happen to the cake! The layers aren't as tall as Dorie's, but I was really happy with the overall result.
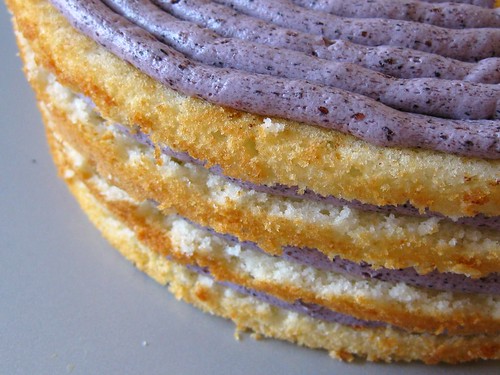
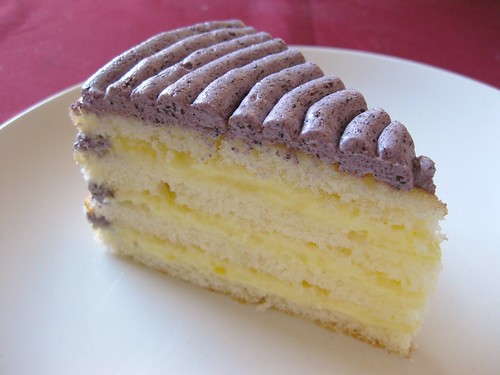
The way I frost layer cakes hasn't really changed. I like to keep the outside bare because I'm not a huge frosting lover, but if there's one butter based frosting to make, it's definitely Cassie's SMBC. I can't say enough about it because it's that good! Creamy and perfectly sweetened without tasting like a stick of butter unlike most meringue based buttercreams. I used her SMBC instead of Dorie's and added some blueberry puree. I couldn't really taste the blueberry and will use jam next time for a more concentrated flavour. Even though SMBC is my favourite kind of buttercream, 4 layers of it can be hard to stomach. Instead, I made a lightened version of CI's pastry cream by omitting the butter and using milk instead of cream. I love how soft this cake was even with all purpose flour. I really liked it, although I can't really say the same for for the rest of my family. It can be so frustrating to bake for them because everything is either too buttery, too sweet, too rich, too moist (?!). I'm starting to get the feeling that what they really want is sandwich bread (and it better be Wonder bread since it's like biting into air) lightly sweetened with sugar.
Thanks so much to Carol of mix, mix... stir, stir for choosing this recipe! You can find the recipe on her blog or in Dorie's book. Don't forget to check out the TWD blogroll!
Pastry Cream, adapted from CI
1 cup milk
2 tbsp sugar
2.5 egg yolks
1.5 tbsp cornstarch
Whisk sugar, eggs and cornstarch together until incorporated
On medium high heat, heat milk.
Pour milk in egg mixture to temper the eggs
Pour mixture back into pot, whisking until thickened and bubbles appear on the side.
Remove from heat and pour into another bowl to stop cooking.
Place plastic wrap on surface and refrigerate until cool and ready to use.
Swiss Meringue Buttercream
Adapted from Cassie's How to eat a Cupcake
Ingredients
2 large egg whites
1/2 cups sugar
1/2 cup (1 sticks) unsalted butter, at room temp
1/4 blueberry puree
Directions
Put egg whites and sugar into the top of a double boiler over a pan of simmering water. Whisking constantly, cook until sugar has dissolved and mixture is warm (about 160 degrees).
Pour heated egg whites into the bowl of an electric mixer fitted with the whisk attachment. Beat egg white mixture on high speed until it forms stiff (but not dry) peaks. Continue beating until fluffy and cooled, about 7 minutes.
Switch to the paddle attachment. With mixer on medium-low, add butter two tablespoons at a time, beating well after each addition. Increase speed to medium-high; continue beating until frosting appears thick, about 3 minutes. Reduce speed to low; add blueberry puree and raise speed to medium and beat until incorporated.
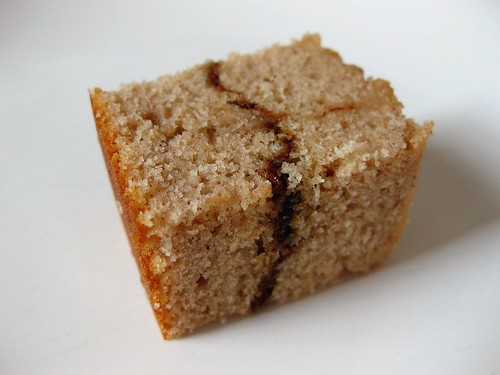 These squares were absolutely delicious, which surprised me since I'm not usually a crazy cinnamon fan. I think this would have to rank up there as one of my favourite Dorie recipes. I enjoyed the texture and the loved the combination of cinnamon and coffee. This is a flavour combination that I will have to use again. I made these a little differently than instructed though because I didn't want to risk over mixing by folding the butter at the end. Instead of melting the butter, I decided to cream it by hand just because I saw Bob of Cooking Stuff do it and couldn't wait to give it a try. Look at what a gorgeous batter he creates with a wooden spoon! Plus, think about all the extra squares I could eat after that workout (no seriously.. I should've waited for the butter to get to room temperature because it's not fun to cream cold butter). I still love my KA more than anything, but doing everything by hand feels like I'm baking for real if that makes sense and a lot of fun! I omitted the frosting and chips in that batter.. part of my efforts to cut calories where I can so I continue baking with TWD without outgrowing all my clothes!
Thanks so much to Tracey of My Culinary Adventures for choosing this recipe! You can find the recipe on her blog or in Dorie's book. Don't forget to check out the TWD blogroll!
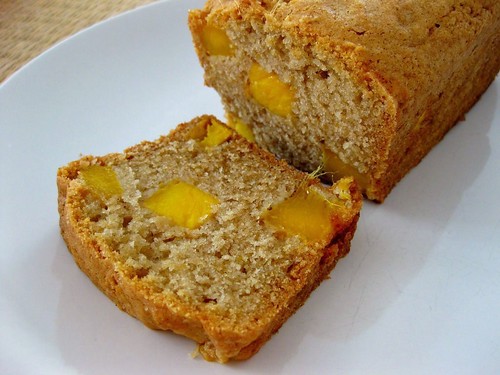 I thought I was going to have to skip this week's TWD, but then my mom came home with a case of Ataulfo mangoes. I'm not sure how long this case will last us because we inhale mangoes at our house! I made 1/3rd of the recipe even though I ended up with a little less than 1 cup of mangoes and baked in a mini loaf pan. The more mango the better, right?! I halved all the spices after I thirded them so the mangoes wouldn't get overpowered by ginger and cinnamon. I was surprised that I enjoyed this so much considering there was no butter and all the folding it took to distribute the mango in this thick batter. I thought for sure this would end up tough and chewy, but it was actually tender, dense and very moist. Maybe I was just being overly paranoid about the overmixing as usual! I love how I'm discovering that it's not always about trying to get the fluffiest cake. The only thing I wasn't crazy about was the cooked mangoes because they seemed to have lost their fresh mango flavour and was a little mushy.
Thanks to Kelly of Baking with the Boys for choosing this recipe, which can be found on her blog and here. Don't forget to visit the TWD Blogroll!
 This was delicious. I even ate almost 1/6th of it myself and I made the whole recipe.. eek... that's a lot of cream cheese frosting!
Sorry for the background furniture and not the prettiest pic, but I was in a big rush. Right now, I'm either panicking, nervous or stressed because I'm either waiting to write, writing, or just finished writing my exam.
Thank you so much Megan of My baking adventures for this week's amazing pick! The recipe can be found on her blog or you can buy the book here. Don't forget to visit the TWD blogroll.
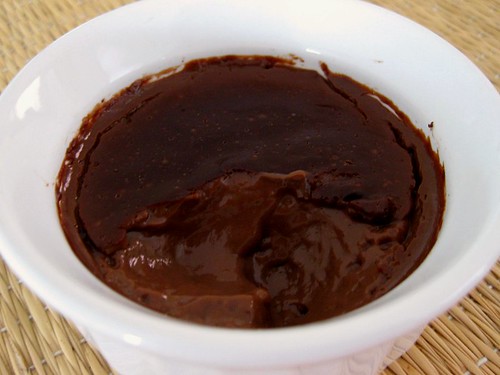 Yet another ramekinized version of TWD. I tweaked the recipe a little to cut the fat down by omitting the pie crust, the butter and substituted cocoa powder for chocolate. Strangely, when it comes to fillings, I can't add butter without having the thought that I'm eating a chunk of cold butter straight from the fridge...literally. I only made 1/4th of the recipe so I wouldn't end up with a bunch of whites or have to pressure my brother to help me finish it up..haha. My favourite part of this dessert was the pudding skin, which I scooped off and then handed my brother the rest. There was no pressuring this time!
Thanks to Kim of Scrumptious Photography for choosing this recipe, which can be found on her blog and here. Don't forget to visit the TWD Blogroll!
 Bread pudding isn't really my thing. Even when I try to upload my picture to blogger, it comes out rotated and I have no idea how to fix it. Whether its upright or not, it looks the same to me...not good. I made 1/6th of the recipe in a mini loaf pan and added less liquid after reading about the floating bread that some people were experiencing. I substituted cocoa powder for chocolate and used only milk instead of cream. So maybe cutting down on the richness doesn't make it 4 star anymore, but I'd rather save the calories for a cupcake! I really tried to like this, so much that I ate the entire top crust, but when it got to the soggy parts, I just had to stop. This is the first time I've had bread pudding so I'm not sure what the texture is supposed to be like or if I messed it up by using Dempster's bread, but I just can't get past the sogginess. I even made sure it was baked for a really long time, so long that the top was practically burnt and a toothpick inserted came out clean. It's a good thing that I only used 3 cups of liquid (1/2 cup for 1/6th of the recipe) or else I can't imagine what the pudding would look like...mush? I'm sure that this was a great recipe for those who enjoy bread pudding, but I'm not a bread pudding fan.
Thanks to Lauren of Upper East Side Chronicle for choosing this week's recipe, which can be found on her blog. Don't forget to visit the TWD blogroll!
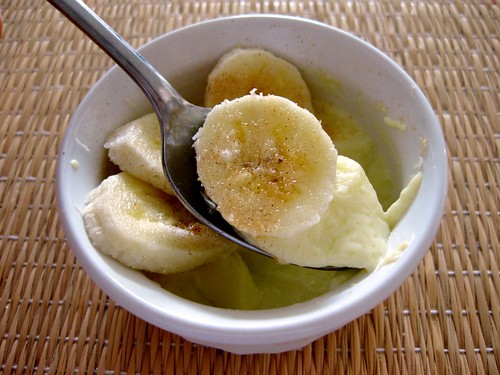 Custard, yum! Banana, yum! Pie crust, umm... I blame my dislike for pie crust on a scary chicken pot pie incident in grade 6 when we went on a 3 day trip at a wilderness lodge. Of course that crust is nothing compared to Dorie's and it wasn’t so much the crust that bothered me than the filling *shudders*, but for some reason I just can’t let it go. I didn't want a bunch of leftover egg whites so for every 2 yolks, I just used one egg, which worked but is probably not as rich. Here is my banana cream, which I hope is just as wonderfully delicious minus the crust and the whipped cream. There's nothing like a dusting of cinnamon sugar over bananas! (ok, so maybe it's not as delicious as whipped cream!!)
Thanks to Amy of Sing for Your Supper for choosing this recipe, which can be found on her blog and here. Don't forget to visit the TWD Blogroll!
Oops! I messed up the stupid 12:00 thing again.. I must be too stressed from the research papers I'm writing!!
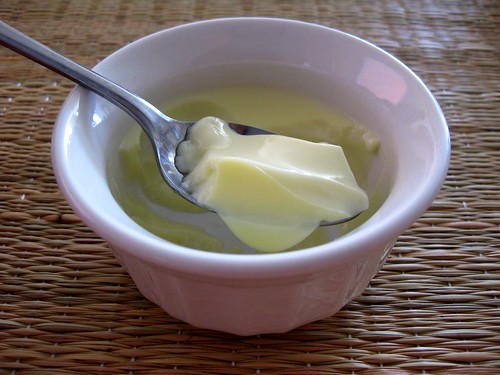 When this recipe was chosen, I couldn't be more excited. As far as desserts go, I don't think you can find one healthier and quicker to prepare than this one. I missed the deadline, but I just had to make this. I quartered the recipe because when it comes to spoon desserts I can eat embarassingly large amounts. I wouldn't mind drinking 2 1/4 cups of milk, but eating 4 eggs is a little too much. Since I only ended up with 2 6 oz ramekins, I didn't want to bake them in the oven so I steamed them instead. Once my pot of water boiled, I turned the heat down to medium and put the ramekins inside the pot. Having never steamed eggs before, I think I may have oversteamed. The first custard cups I made were really flan-like and eggy, just like most described they were on the P&Q. Since I didn't make the original recipe, I can't complain!
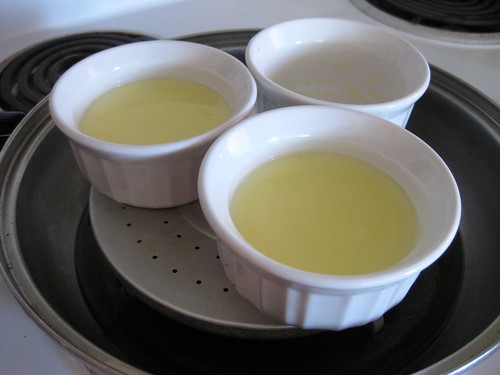
I really wanted this to work because I love custard desserts so I tried it again. This time, my mom suggested I add more milk and take them out after 7 minutes. I tried it her way and it worked! These were really smooth and not 'tight'..as in I didn't have to jam my spoon in or as eggy. I think the best part was the texture, but since the ingredients are your basic egg, milk and sugar, it wasn't very rich (but at least it wasn't eggy!). I really enjoyed the steamed version because it was really quick and easy. The only cooking part is steaming for 7 minutes because you don't have to heat the milk as long as everything is at room temperature. Plus, if you mess up, it's only an egg, 3/4 cup milk, and 1.5 tbsp sugar. I couldn't wait for pictures and dug into one while it was still warm.. so just pretend the third ramekin is filled. Actually, when my mom makes it, we usually eat it plain like this without flavouring and warm instead of chilling it in the fridge. I have a feeling most people won't find this rich enough, but I really liked the lightness!
Steamed Custard Cups
My mom's version
makes 3 6 oz ramekins
1 egg, room temperature
1.5 tbsp sugar (or more if you like it sweeter, but I like mine subtly sweet)
3/4 cup milk, room temperature
Boil half a saucepan of water at medium heat.
Whisk egg and sugar together.
Gradually add milk while whisking to ensure suggar is dissolved.
Spoon foam away
Pour egg mixture into ramekins.
Put ramekins into pot for steaming and put a lid on top.
After 7 minutes, take custards out (time depends on size of pot, ramekins and stove). It will be jiggly and you might think it's not cooked, but just take it out when a chopstick inserted comes out clean. It will settle once it cools.
Thanks to Bridget of The way the cookie crumbles for choosing this recipe, which can be found on her blog and here. Don't forget to visit the TWD Blogroll!